Gathering, crafting and refining in Shards of Aeternum
9 trades are currently open, and one character may learn every one of them. Learning a trade is permanent and cumulative: you gather materials, turn them into useful items, and use the anvil to improve gear worth keeping.
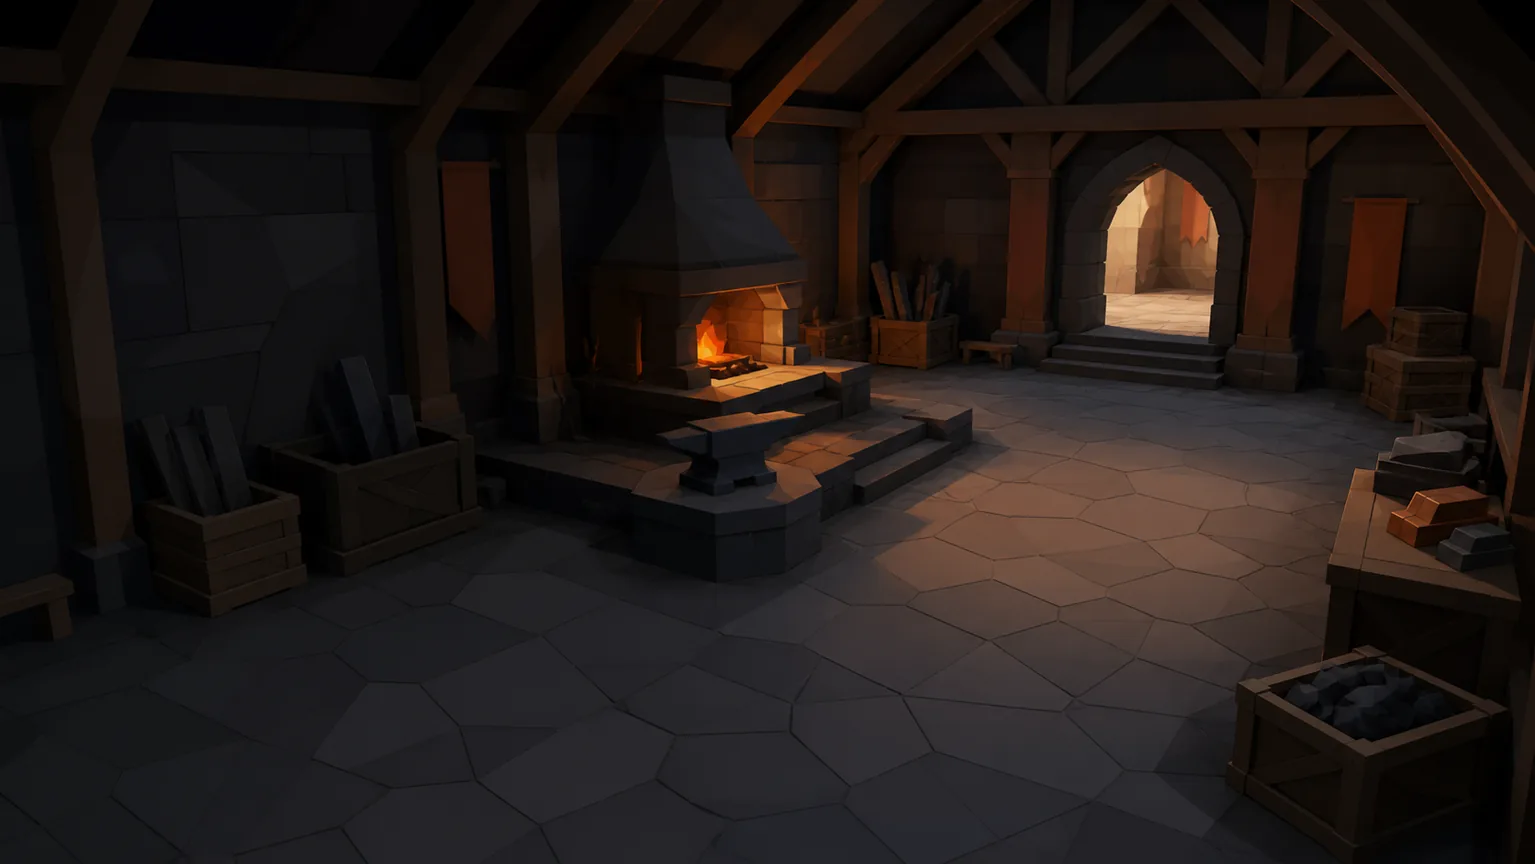
The whole material loop
- Gather. Work mining, herb, fishing and timber sites. Gathering spends stamina, grants trade experience and supplies the workshops.
- Craft. Learn a production trade, buy the recipes its level allows and combine gathered, hunted and purchased reagents. Crafting can fail, so success chance is part of the build.
- Refine. Take gear you already own to the Ember Forge. Refining spends gold and materials to add 4% of the item's rolled stats per level, up to +10.
 Gather.
 Craft.
 Refine.
Every trade has its own level, tool ladder, passive bonuses and talent points. Crafting also grants character experience, so time at a bench still advances the adventurer.
The 5 production trades
| Trade | Workshop | Makes | Main sources |
|---|---|---|---|
| Ashbrewer | The Ashen Still | Potions, tonics and draughts | Herbs, monster reagents and supplies |
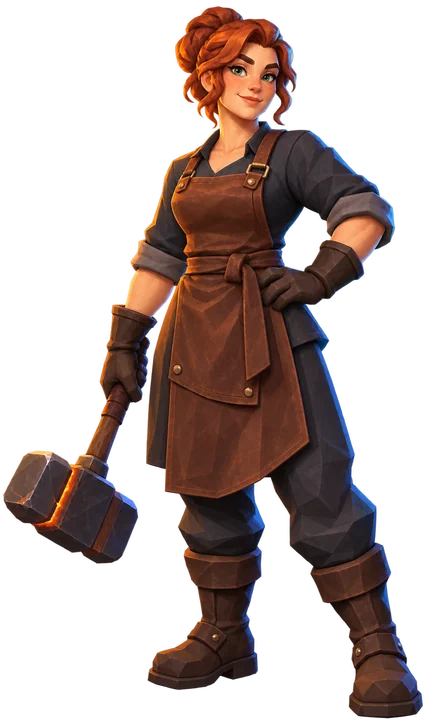
| Embersmith | The Ember Forge | Metal weapons, shields and armour | Ore, charcoal and hunted materials |
| Shardwright | The Shardhouse | Wands, staves, bows, crossbows and focuses | Timber, shards and bindings |
| Hearthcook | The Hearthkitchen | Food that restores or extends stamina | Fish, game, herbs and fuel |
| Hidewright | The Tannery Row | Leather and cloth armour | Pelts, hides, web and other hunted materials |
The 4 gathering trades
| Trade | Works | Feeds |
|---|---|---|
| Shardminer | Ore, stone and buried shards | Embersmith, refining and shard recipes |
| Herbculler | Roots, blooms and medicinal plants | Ashbrewer and Hearthcook |
| Riverfisher | Fish and what the river gives up | Hearthcook and specialist recipes |
| Timberhewer | Timber and charcoal | Shardwright, Embersmith and Hearthcook |
Hidewright has no dedicated gatherer because its raw materials come from creatures. This keeps hunting connected to the trade economy instead of turning every useful reagent into a separate stamina site.
How refining risk works
Anyone may refine at the Ember Forge; Embersmith levels and the Slagborn racial bonus only improve the odds. The first three attempts are guaranteed. After that the chance falls, and the consequence of failure changes by band:
| Attempting | If it fails |
|---|---|
| +1 through +5 | Only the gold and materials are spent; the item keeps its level |
| +6 and +7 | The item loses one refine level |
| +8 through +10 | The item is destroyed |
The anvil always shows the current chance, cost and failure consequence before you confirm. A +10 item is powerful because each level adds 4% of its rolled stats, but the last three steps are intentionally a gamble rather than a routine upgrade.
Which profession should you take first?
Ashbrewer for safer unattended hunts
Potions fire automatically from the loadout during an expedition, including while you are offline. That makes the Ashbrewer useful to every class from the first difficult run onward.
Then follow the item you want to make
Embersmith covers metal weapons and armour, Shardwright covers bound weapons and focuses, and Hidewright covers the leather and cloth pieces the forge does not. Because there is no profession slot cap, learning one never closes another path.
Pair production with its material source
A producer becomes much cheaper to level when you gather the materials yourself. Timberhewer has the widest reach, while Shardminer is the backbone of the forge and the refining ladder.